
 I started with instructions from Chris Evans at Drummin Hands. He had A LOT of this figured out before I even dove in.
I modified his design by adding an SD display (1280 x 800) and moving the processing offline from the Raspberry Pi to my cluster of linux servers.
In the current version, the Raspberry Pi Camera takes 4 2592x1944px JPEG pictures and uploads them to a linux server in my datacenter to be converted into a 2X2 montage with the event title at the bottom. The original design posted 500X500px images to tumblr. I modified the code to take higher resolution pictures and through the magic of several linux scripts automatically post the final JPG to this Wordpress blog. This way I get to maintain control of all the photos in case the PhotoBooth ends up at a private party in which the customer doesn’t want the photos made public.
Other modifications I have made are:
- using multi threaded processing to show the user the photos they just took while uploading them to my processing servers
using an onboard exim4 MTA to queue the pictures if the Raspberry Pi doesn’t have internet connectivity– deprecated (See next bullet)- use python scripts to upload files via https – seems most places don’t like outbound SMTP so I had to rewrite the transmission mechanism for HTTPS for maximum commercial internet usability
- setting up this blog with Facebook, Google+ and Twitter integration in case people want to post comments or share the photos (this also allowed me to experiment with OAuth)
- Added a 12V power supply to light up the giant arcade button
- Added custom sound cues to let the picture takers know when a picture is about the be taken
- Used a plugin to automatically post pictures to the wordpress blog via POP3 (luckily I already had my own mailserver setup)
- Used advanced overlays in python to show a visual countdown while also previewing the camera.
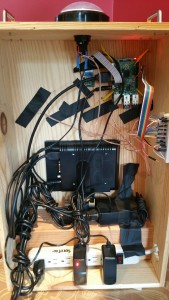 The shell is a wine box I bought from the local wine store. I got the handles from Home Depot and most of the extra electronics from AdaFruit. Behind the scenes is a breadboard, a RaspberryPi, a RaspberryPi Camera, an HD monitor with sound, a power strip, and a 4X4 for mounting and holding up the display.
If any teachers, staff, faculty, friends want to use the photobooth let me know. If it is a great cause, it might even be free! Otherwise I think $100 for a few hours might be a good deal. What do you think? I even come with lighting.
I don’t sell the photo booths, it is just a fun side project I built for education and experimentation. As you can see, there is still a bit of cleanup that could be done behind the scenes such as hot gluing the LEDs in place instead of the black tape. I do like the mounting solution of the RaspberryPi which is 4 eye screws with 4 zip ties holding the entire thing suspended in mid air.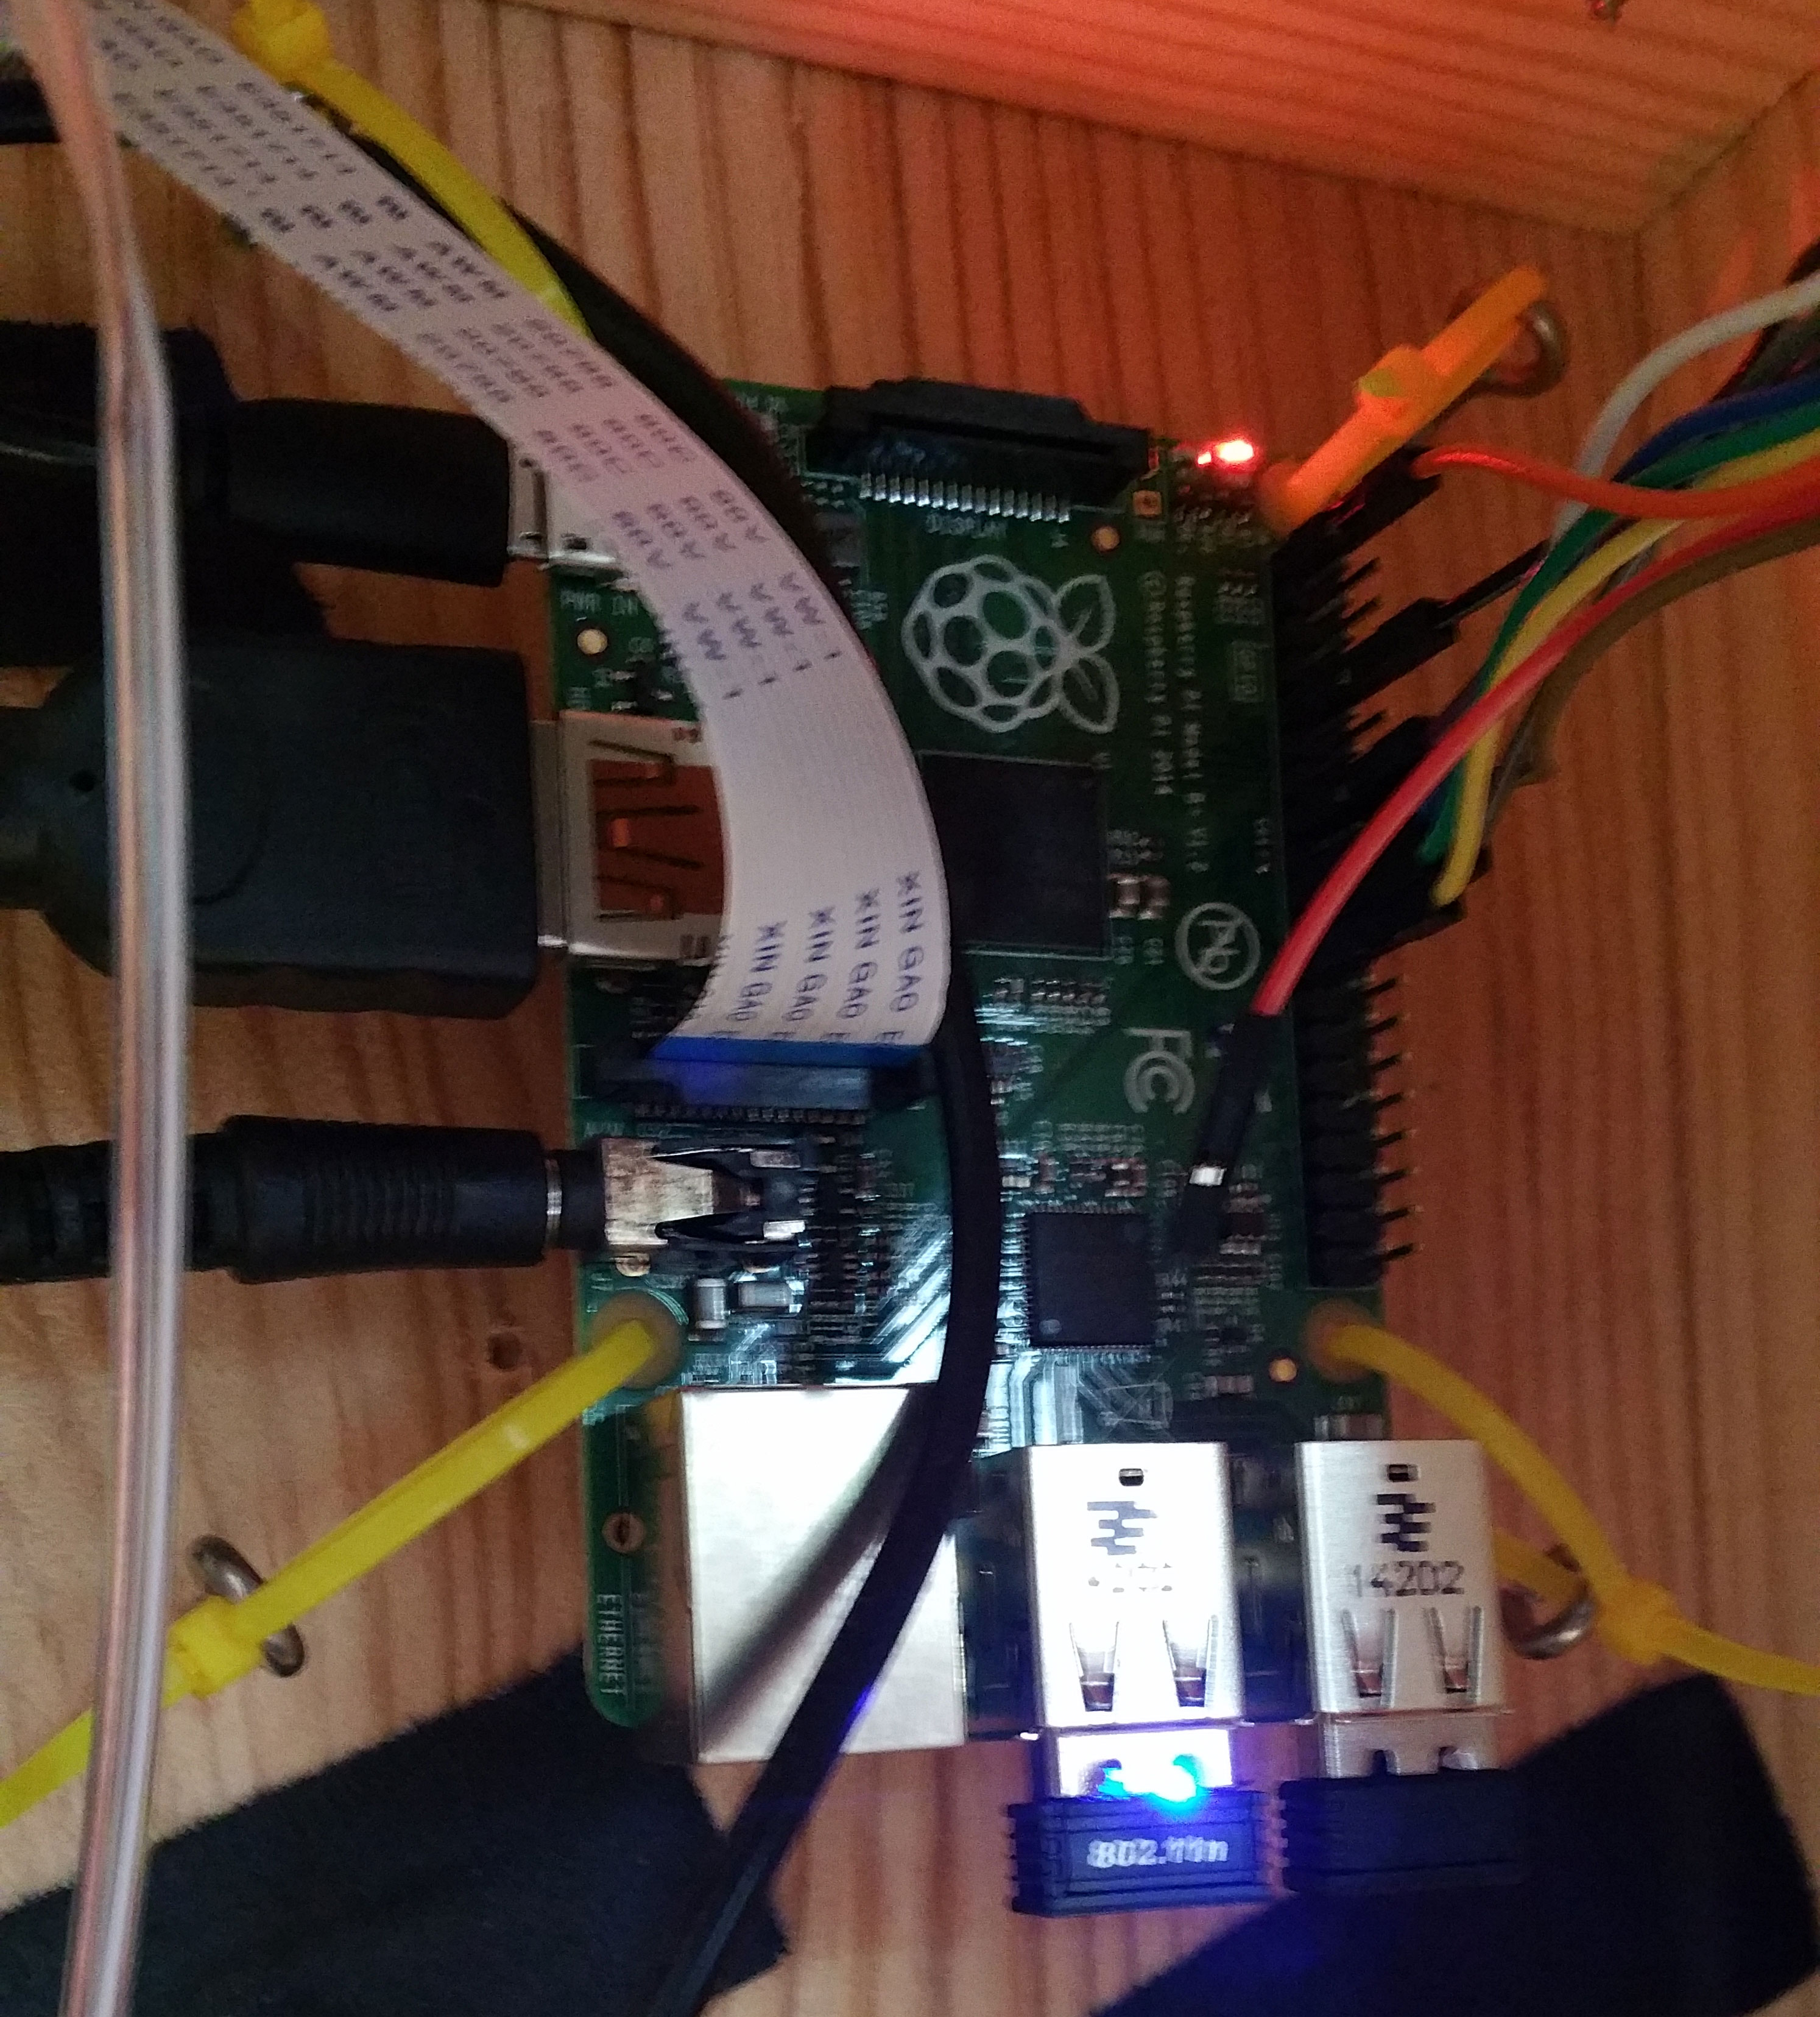
If you want to know more about the booth, I’m happy to chat about it.
–Brett Thorson
Cranial Thunder